Printing the Pmt. Import Register
Import to Ext. Cash Receipt Journal:
By selecting this menu item, you can import the current payment import register into the journal specified in the associated payment import interface.
Open to Ext. Cash Receipt Journal:
By selecting this menu item, you can open the journal specified in the associated payment import interface.
Now you can work on the corresponding journal (see Ext. Cash Receipt Journal (Journal Functionalities))
File Gateway:
If you want to import payment import files, you may not know what type of file it is. For this purpose, you can choose to import using File Gateway. The program recognizes the type of file and selects the correct report for import internally:
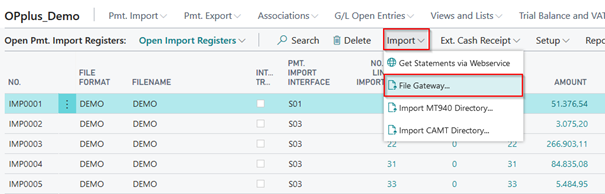
In the window that opens, simply select the file to be imported and the import begins.
Get Statements via Webservice:
If you work with a banking program or a bank that also provides the bank statement data via webservice (see e.g. https://www.konfipay.de/), you can get the data via webservice here after appropriate settings of the payment provider:
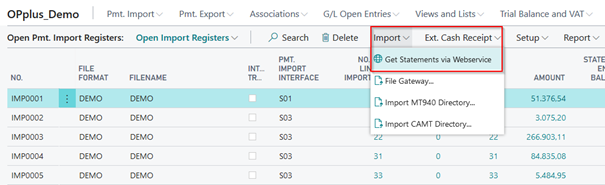
The following procedure runs in the usual sequence.
Import MT940 Directory or CAMT Directory:
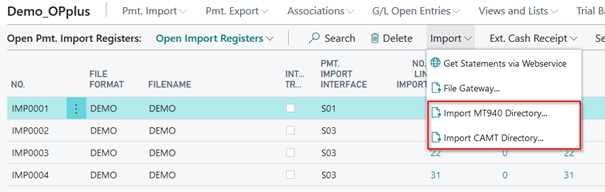
The following fields of the OPplus Setup must be specified for the Import MT940 Directory function:
- MT940 Import Path
- MT940 Backup Path
- MT940 File Extension
If you select the Import MT940/CAMT Directory menu item, the system will import all files with the MT940/CAMT file extension specified in the corresponding field from the MT940/CAMT import path. The system will create a set in the Pmt. Import Register table for each bank account found during this process. At the same time, the imported files are copied from the MT940/CAMT import path to the MT940/CAMT backup path.
To be able to use the functionalities of the output / storage paths in the file import, file export and CSV ports in an On Prem installation, an extra extension must be installed. This is the extension "OPplus On Prem Extension".
In a Saas installation the paths are not available.
Imports from the Import Register:
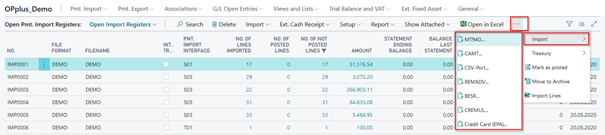
MT940…:
By selecting this function, the user can import single MT940 files by using the Pmt. Import via MT940 report. For more details on the report, please refer to chapter Pmt. Import via MT 940 (single file). CAMT …:
By selecting this function, the user can import single CAMT files by using the Pmt. Import via CAMT report. For more details on the report, please refer to chapter Pmt. Import via CAMT (single file).
CSV Port…:
If you select this function (if available), the user will be asked whether to use the default CSV port. If not, the CSV port list will be shown. For more information, please refer to chapter Pmt. Import via CSV Port.
BESR...:
This feature allows the user to import a single V1 file by using the Pmt. Import via BESR report. For more information, please refer to chapter Pmt. Import via BESR.
CREMUL…:
This feature allows the user to import a single CREMUL TXT file by using the Pmt. Import via CREMUL report. For more information, please refer to chapter Pmt. Import via CREMUL.
CAMT…:
This feature allows the user to import a single CAMT XML file by using the Pmt. Import via CAMT report. For more information, please refer to chapter Pmt. Import via CAMT.
REMADV…:
This feature allows the user to import a single payment advice by using the Pmt. Import via REMADV report. For more information, please refer to chapter Pmt. Import via REMADV.
CC (EPA)…:
This feature allows the user to import a single EPA file by using the Pmt. Import via CC (EPA) report. For more information, please refer to chapter Pmt. Import via CC (EPA).
Tab Setup:
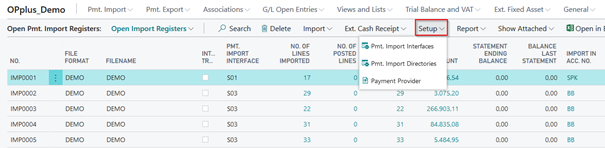
Pmt. Import Interfaces:
With this feature, you can open the payment import interfaces. For more information about interfaces, please refer to chapter Pmt. Import Interface.
Pmt. Import Directories:
With this feature, you can open the payment directory list. You can specify the directories to be used for file imports. For more information about payment import directories, please refer to chapter Pmt. Import Directories.
Payment Provider:
Through this field, you get to the payment provider list, where you are able to set up and view payment providers for webservices.
Deleting Pmt. Import Register
The user has the option to delete any existing payment import registers. This functionality does not only supports the user during the initial phase in the event that data is imported twice, it can also be useful for the following scenario:
The user imports a file for which the application makes a new entry in the Pmt. Import Interface table for a new bank which exists in the file. The associated lines in the file are skipped during this import process.
The user now has the possibility to enter the missing data manually into the Pmt. Import Interface table. The user then deletes the original Pmt. Import Register and runs the import again. Based on the data which the user has manually entered the associated lines will be imported as well.
If you have performed the original import by selecting the “MT940 Directory “or “CAMT Directory” function, you must first restore the file (see section Pmt. Import Register).
You can also delete import registers even if the associated import lines are marked as posted. Please note that in this case the value of the “Pmt. Import Entry No.” field (“Entry No.” of the import line) will get lost for the associated entry posted.
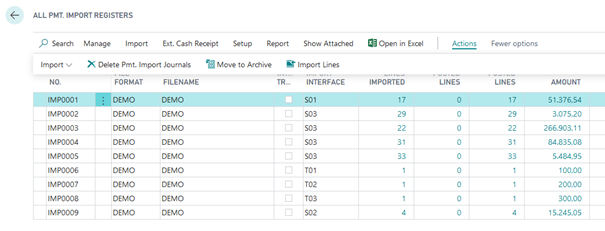
All Pmt. Import Registers
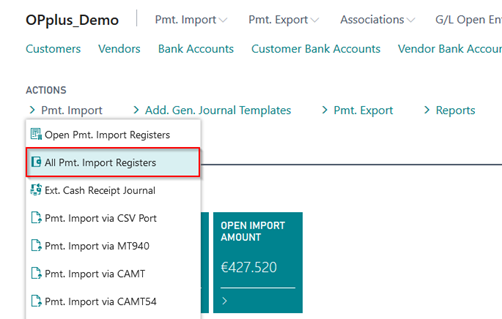
In addition to the ”Open Pmt. Import Registers”, you can also use the list of all import registers which you will find under the “All Pmt. Import Registers” menu. It is an unfiltered list of all registers providing the same functions described above.
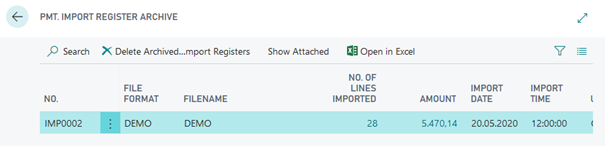
Pmt. Import Register Archive
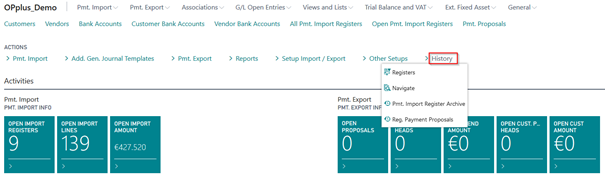
You have the option of archiving import registers. You can display the corresponding result in the Pmt. Import Register Archive.
Deleting of Pmt. Import Registers
In addition you have the option to delete (archived) payment import registers including respective lines. When deleting the Pmt. Import Registers, any pending/open registers which exist in the G/L journal will not be deleted. These records still remain! The archived registers will be deleted without any further checks. This feature can be found on the “All Pmt. Import Registers” and “Pmt. Import Register Archive” windows.
The report shows the data of the currently selected record and can be specified by setting respective filters. It is important that the tables are not cached and no longer be reconstructed after deletion.
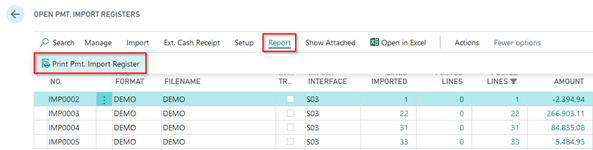
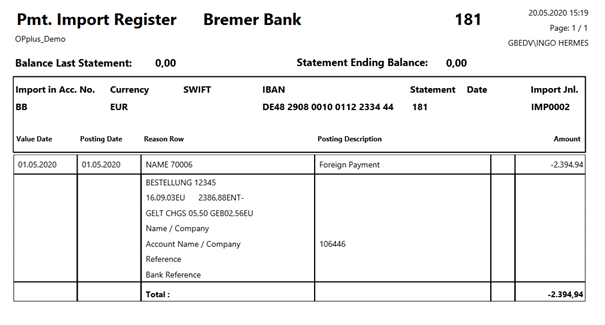
Print Pmt. Import Register
If the bank statement data is retrieved via webservice, you will no longer receive a bank statement in paper form from the bank. However, in order to give a user this possibility, the Zlg. Import Journal can be printed. The printout resembles the bank statement and reflects the imported values.
You can print the report via the Open Pmt. Import Registers window.