Customer & Vendor Netting
Setting up Netting
You can find the Setup Wizards in the Settings / Assited Setup.
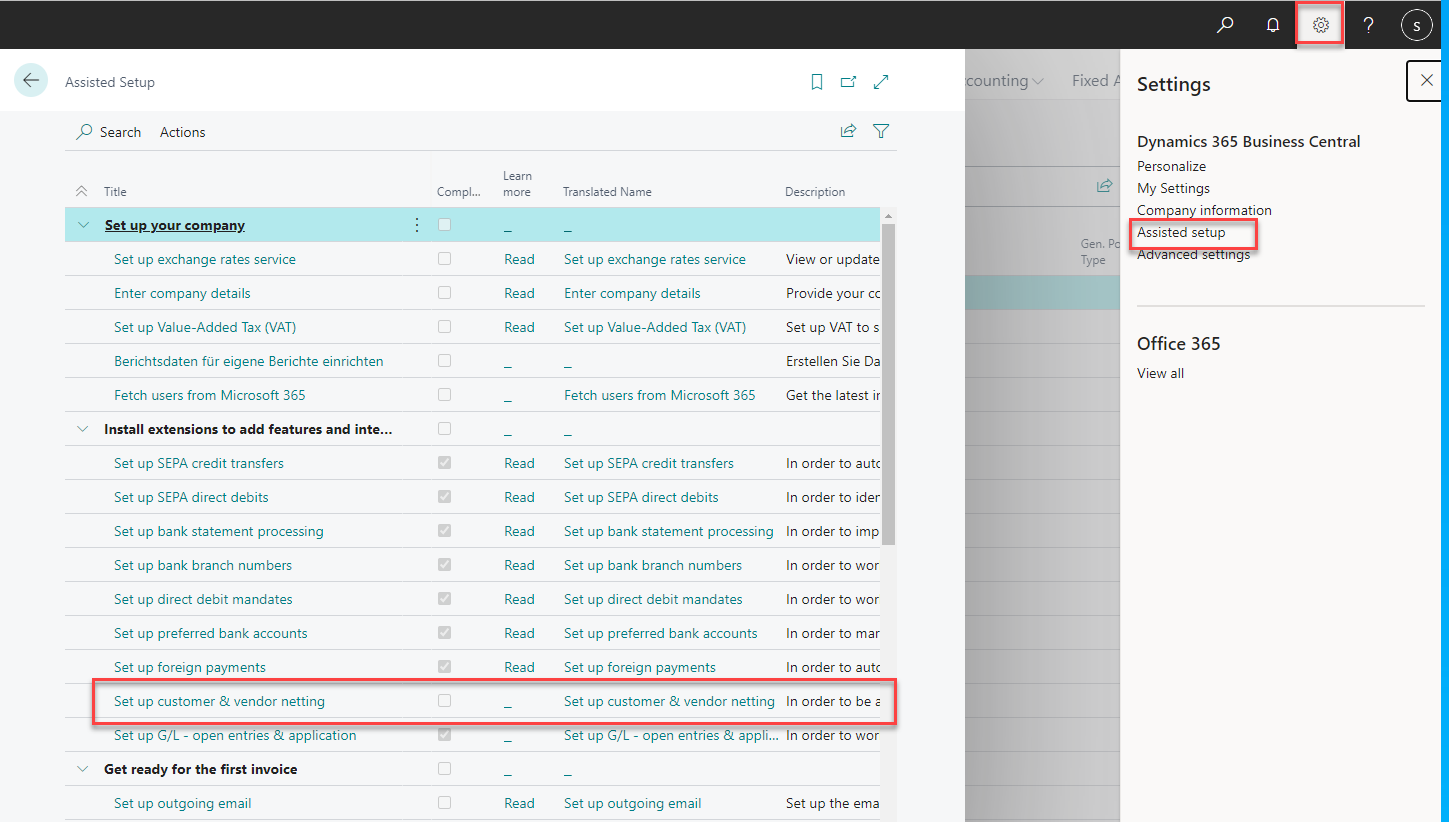
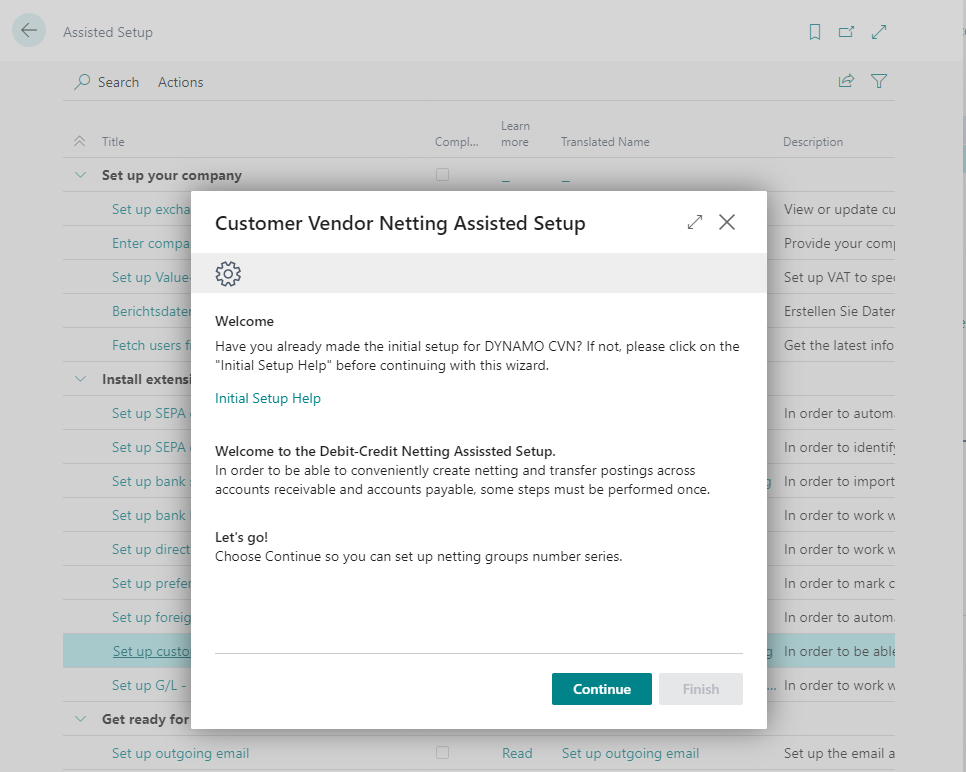
You start the Set up customer & vendor netting and are immediately greeted by the setup wizard.
In the next step, you will be prompted to enter two No. Series for the assignment of Netting Group Nos. and Netting Posting Nos..
Via the +New in the selection window you can create new number series if needed.

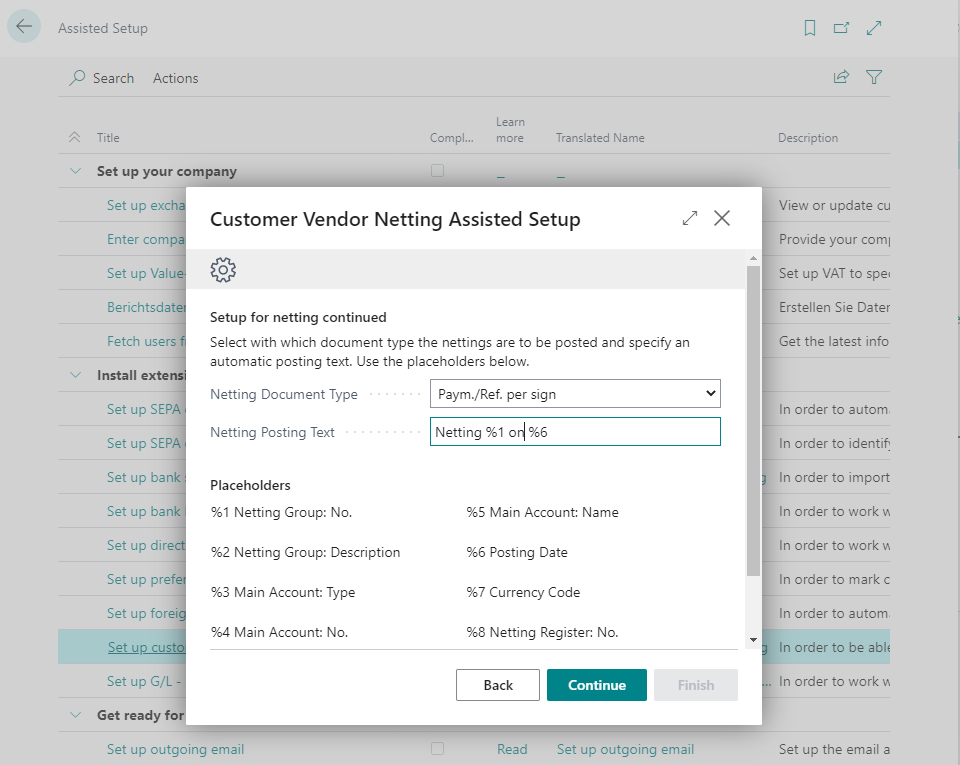
In the next window, select with which Netting Document Type the netting will be posted and specify an automatic Netting Posting Text. Use the variables described in the window for this.
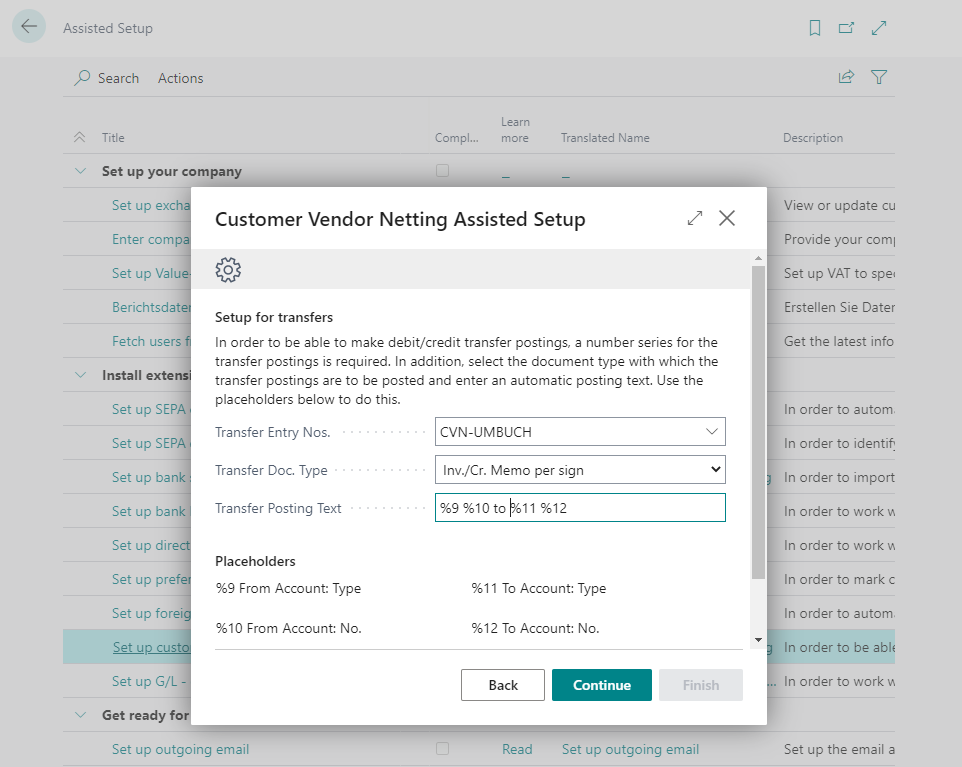
The next step is the setup for transfer postings. Here you also assign a No. Series for the Transfer Entry Nos., a Transfer Doc. Type and the Transfer Posting Text for the transfers.
Afterwards you spefify a Netting Account No.. This serves as interim/transfer account for the netting of Customers and Vendors.
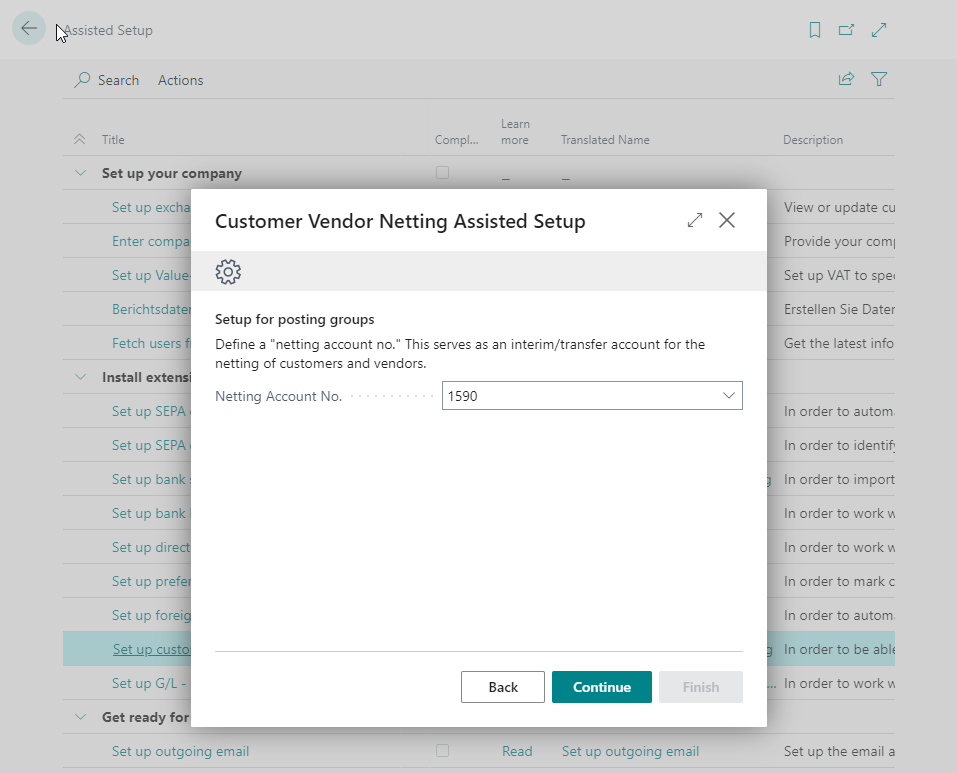
Click Continue and then Finish to complete the setup.
With this setup you have filled the Netting Setup and the Netting Posting Groups.