Making a netting
Netting group lines
Go to the Netting Groups list and open the desired Netting Group Card for which you want to make the allocation. Then select the members whose open items are to be included in the netting:
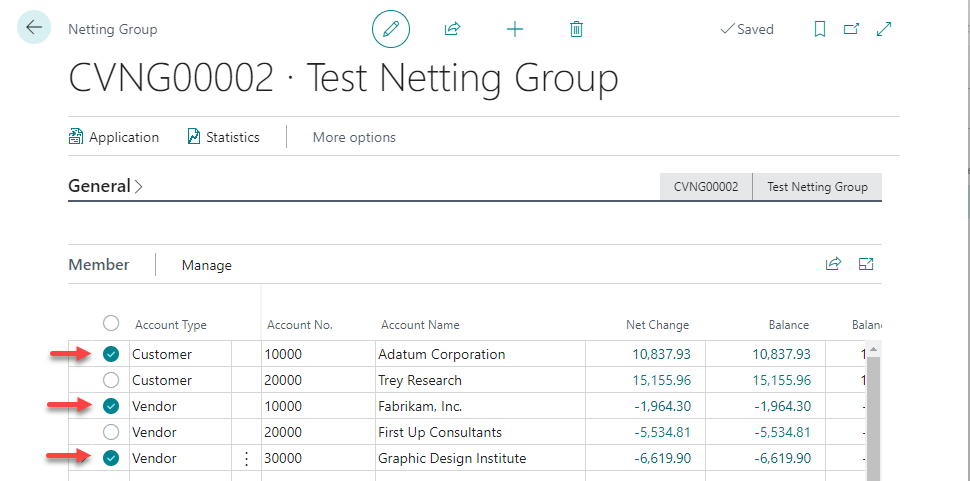
Tip
If all members of the group are to be included in the netting, you do not need to make a selection.
Then start the Application via the action of the same name in the menu. You will see your selection in an editing window.
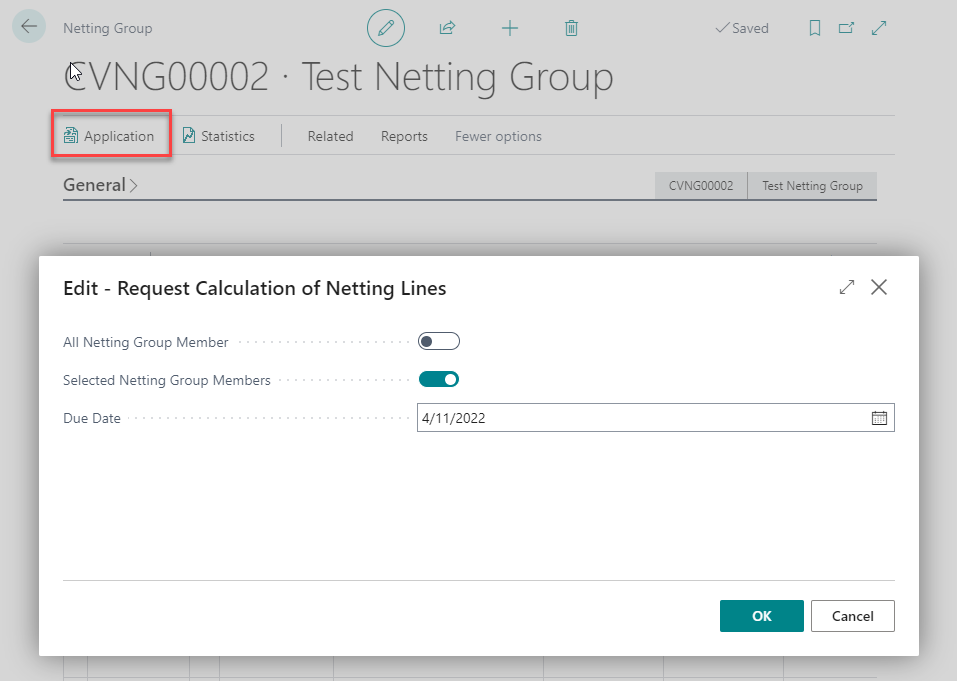
The Work Date is suggested as the Due Date for posting. Change this if necessary and then start the posting process with OK.
Netting Worksheet
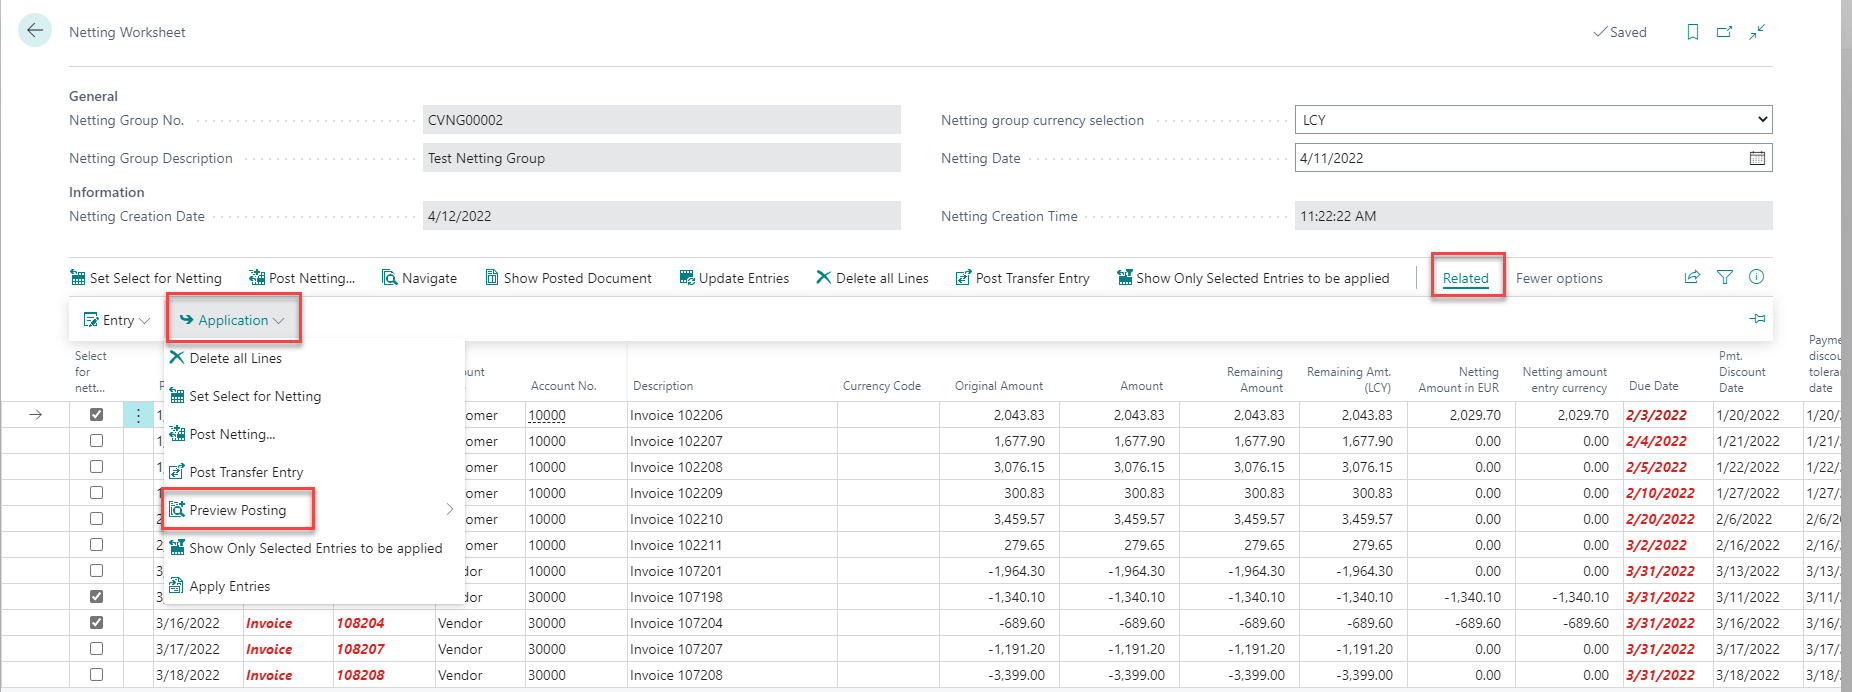
You will get a list on all open entries of the netting group members.
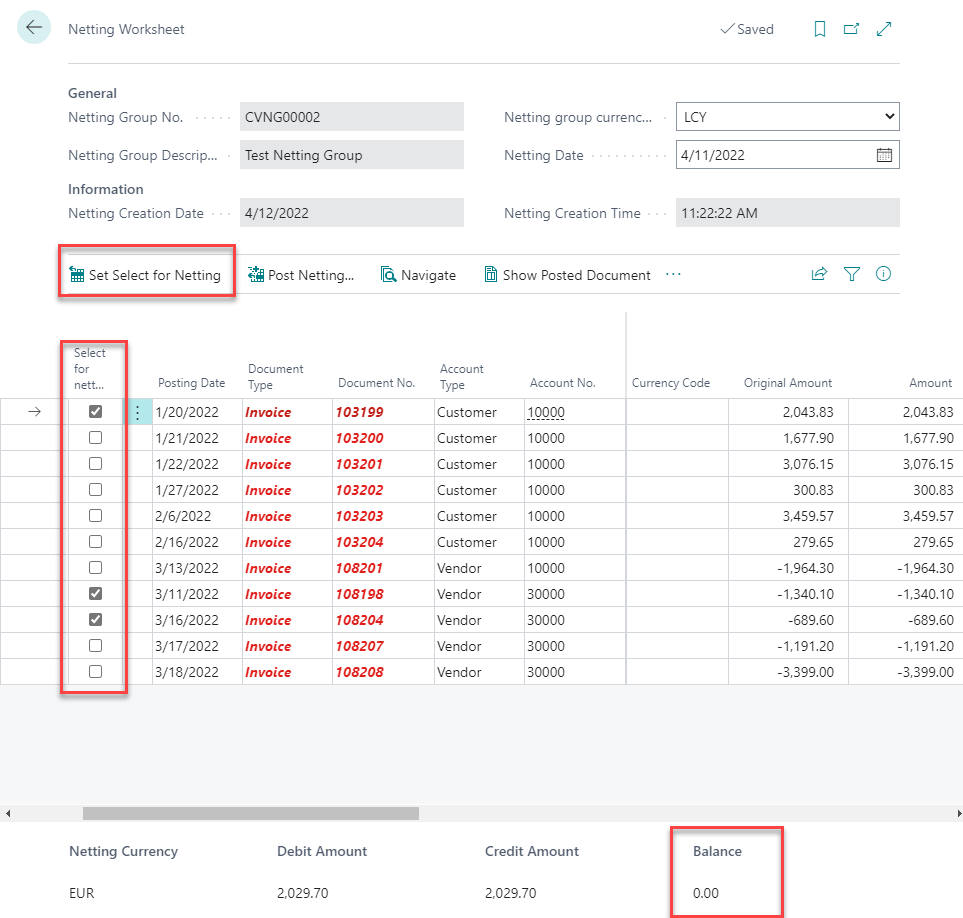
In the Selected for netting column, select the entries to be netted, or select the rows and use the Set Select for Netting action. Please make sure that the Balance for netting must have the value 0.00.
Tip
You can also include the items proportionally in the netting. To enter the partial amounts, use the fields in the Netting Amount in EUR and Netting Amount (Entry currency) columns.
Use the menu to navigate to the Preview Posting to check the Entries.
You can now make changes if necessary.
Finally, post the netting via Post Netting... The Posting Date is taken from your previously set Date filter. The Posting text, which is taken as a default value from the Netting Setup, can be adjusted manually if needed.
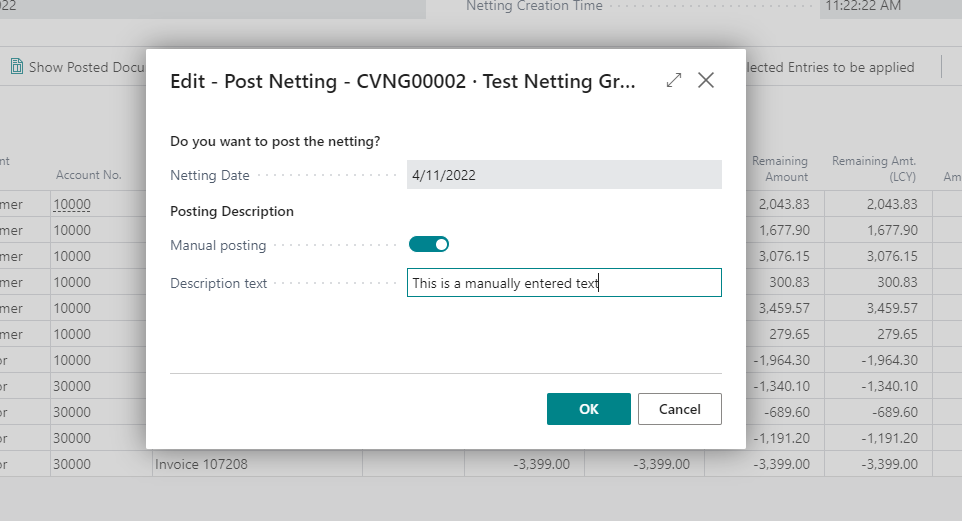
Start the posting process by pressing Ok.
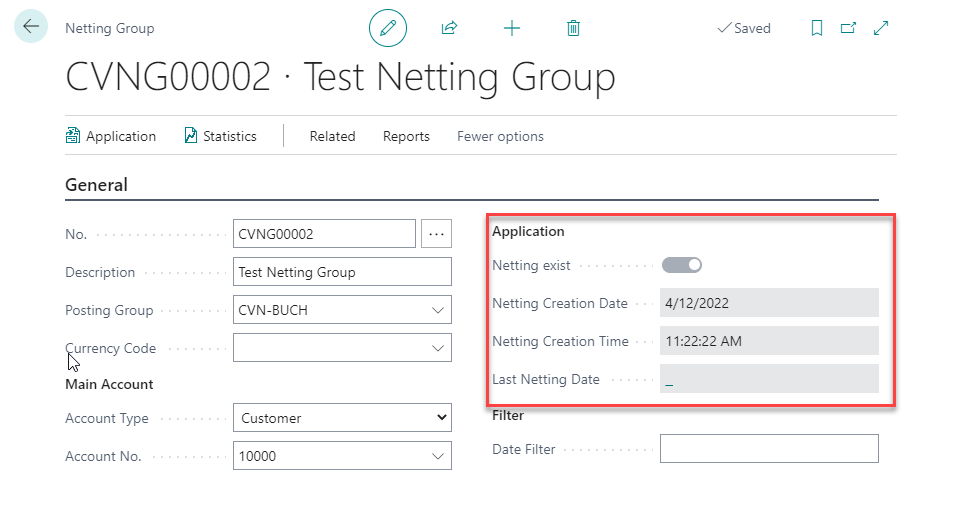
In the header of your Netting group you can see when the last Netting was carried out: